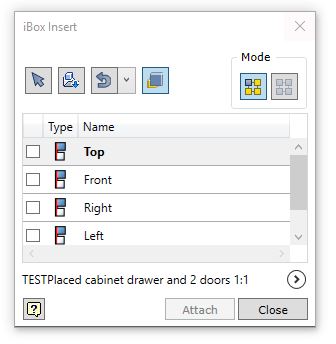
In a previous blog post I described how easy it was to add parameters to a bought out part to show up in the Woodwork for Inventor BOM Specification. However, what happens when you wish to use an Inventor iPart because you want to have some variation on the same theme?
 It’s pretty straight forward with just a few steps.
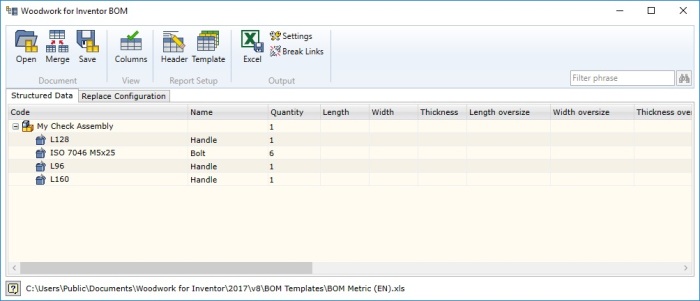
- Place the component name in a new column Header (best to add this via the MS Spreadsheet Editor) in this example we need to call it #Handle
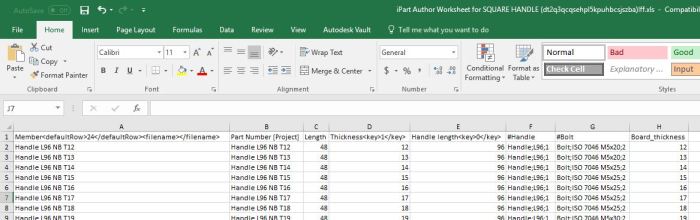
- Now we can describe the first variant line Handle;LO;1 where Handle is the Part Number, L96 is the Name and 1 is the qty.
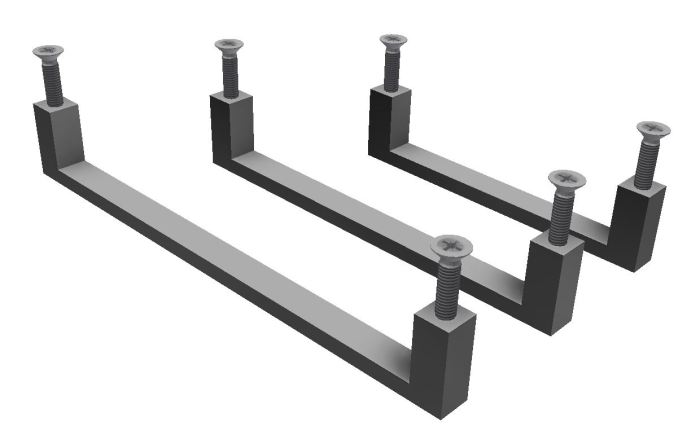
- You can describe the Bolt in the same manner #Bolt for the Column header.
- Add Bolt;ISO 7046 M5x20;2 etc. and fill in the remainder of your table to suit your requirements.
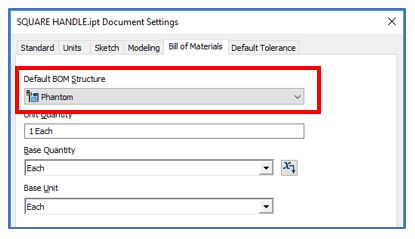
- You now need to set your ipart to Phantom from selecting Tools>Document Settings>Bill of Materials> and change default BOM structure to Phantom.
- After placing your configured iPart in an assembly and running the BOM specification within Woodwork for Inventor you will see your components appear.