
A couple of customers have pointed out a subtle change to the woodwork for Inventor Material Apply assignment, so thought I’d share this short tip.
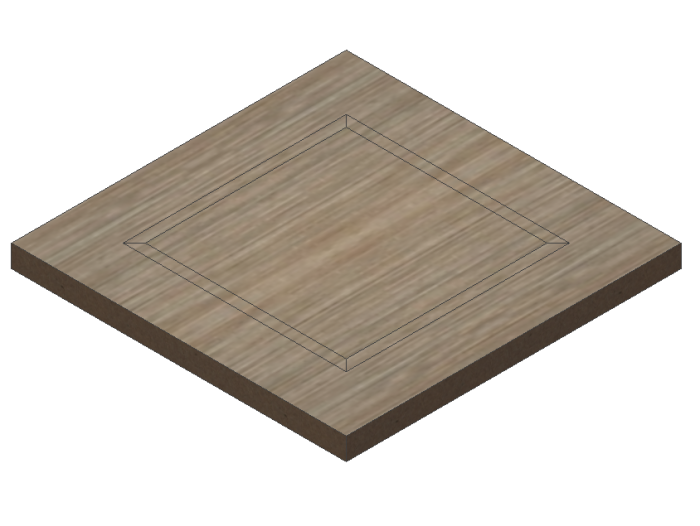
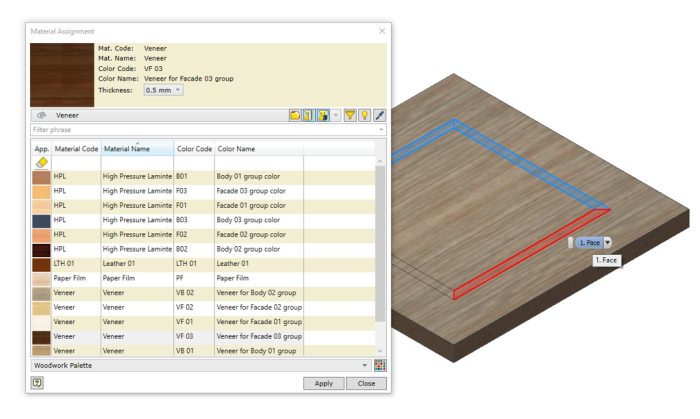
You have used Autodesk Inventor’s Split tool to create a mitre frame within the face of the panel as below. However, when you apply a contrasting veneer it applies to all top faces even though you select one segment.
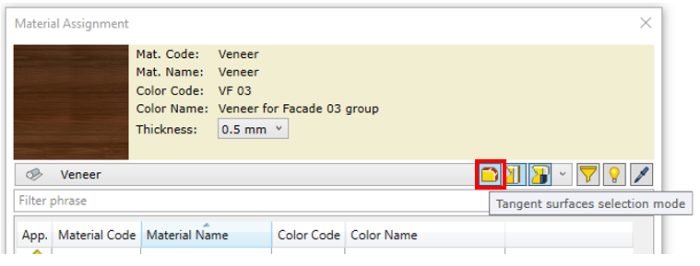
When v7 of Woodwork for Inventor was launched it included a new tool called “Tangent surfaces selection mode”. This button is enabled by default.
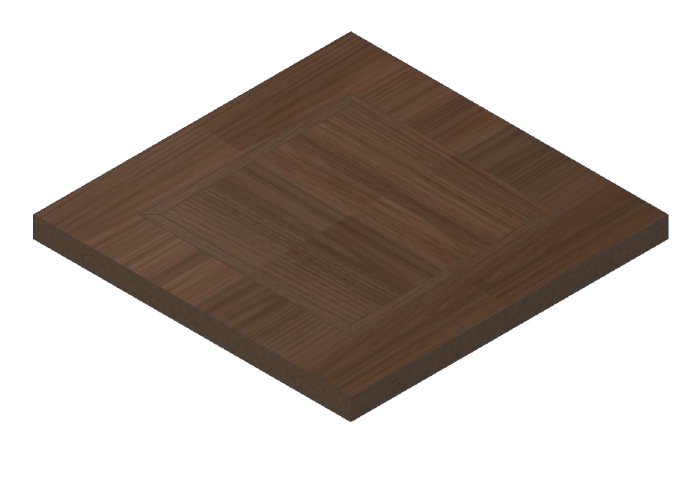
By applying the veneer VF03 the result is not as desired and looks like the following:

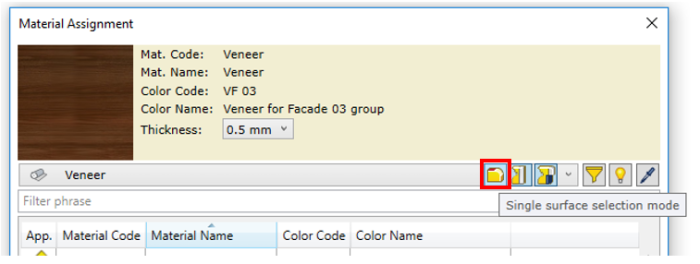
The answer is simple. Enable the “Single surface selection mode” and you can apply the veneer to individual faces.
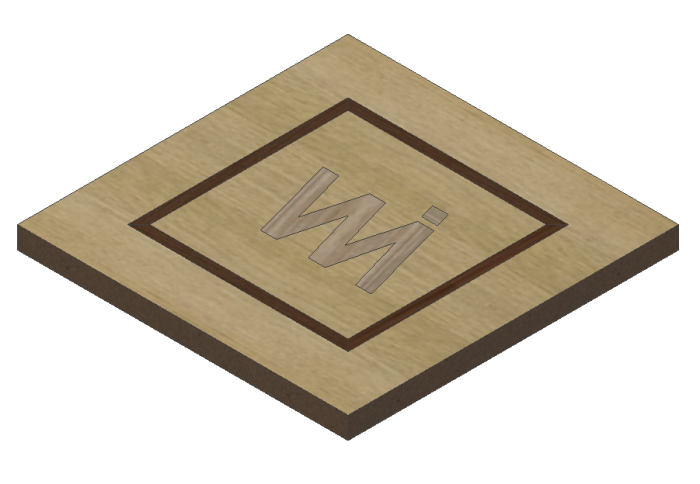
You now get the desired result below.

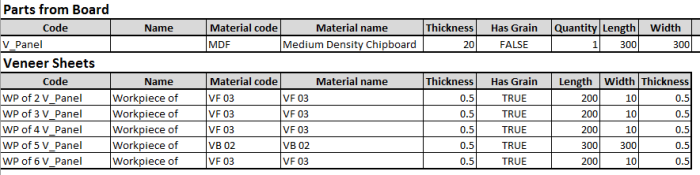
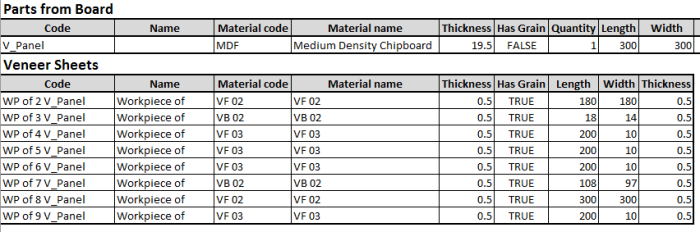
When running the BOM Specification it’s not really obvious that you have selected a different veneer but when you output to your Excel Cutting list you can see the veneer sheets individually allocated.
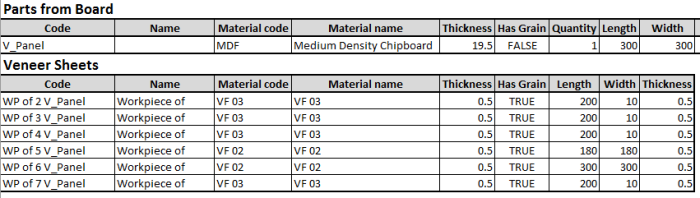
If you apply a veneer to the internal face you will also get this veneer piece included as below.
Experiment and you can build up some excellent Veneer schedules.
Enjoy..
